 If you’re one who loves to decorate holiday cookies but are not experienced at fancy piping, this just might be the method for you. It’s a technique long used by European pastry chefs to gussy up large cakes and tortes, but don’t panic—for these cookies only the most minimal piping skill is involved. Really, it’s true! (If you’re looking for another different, equally easy technique, check out my stained glass Valentine’s cookies.)
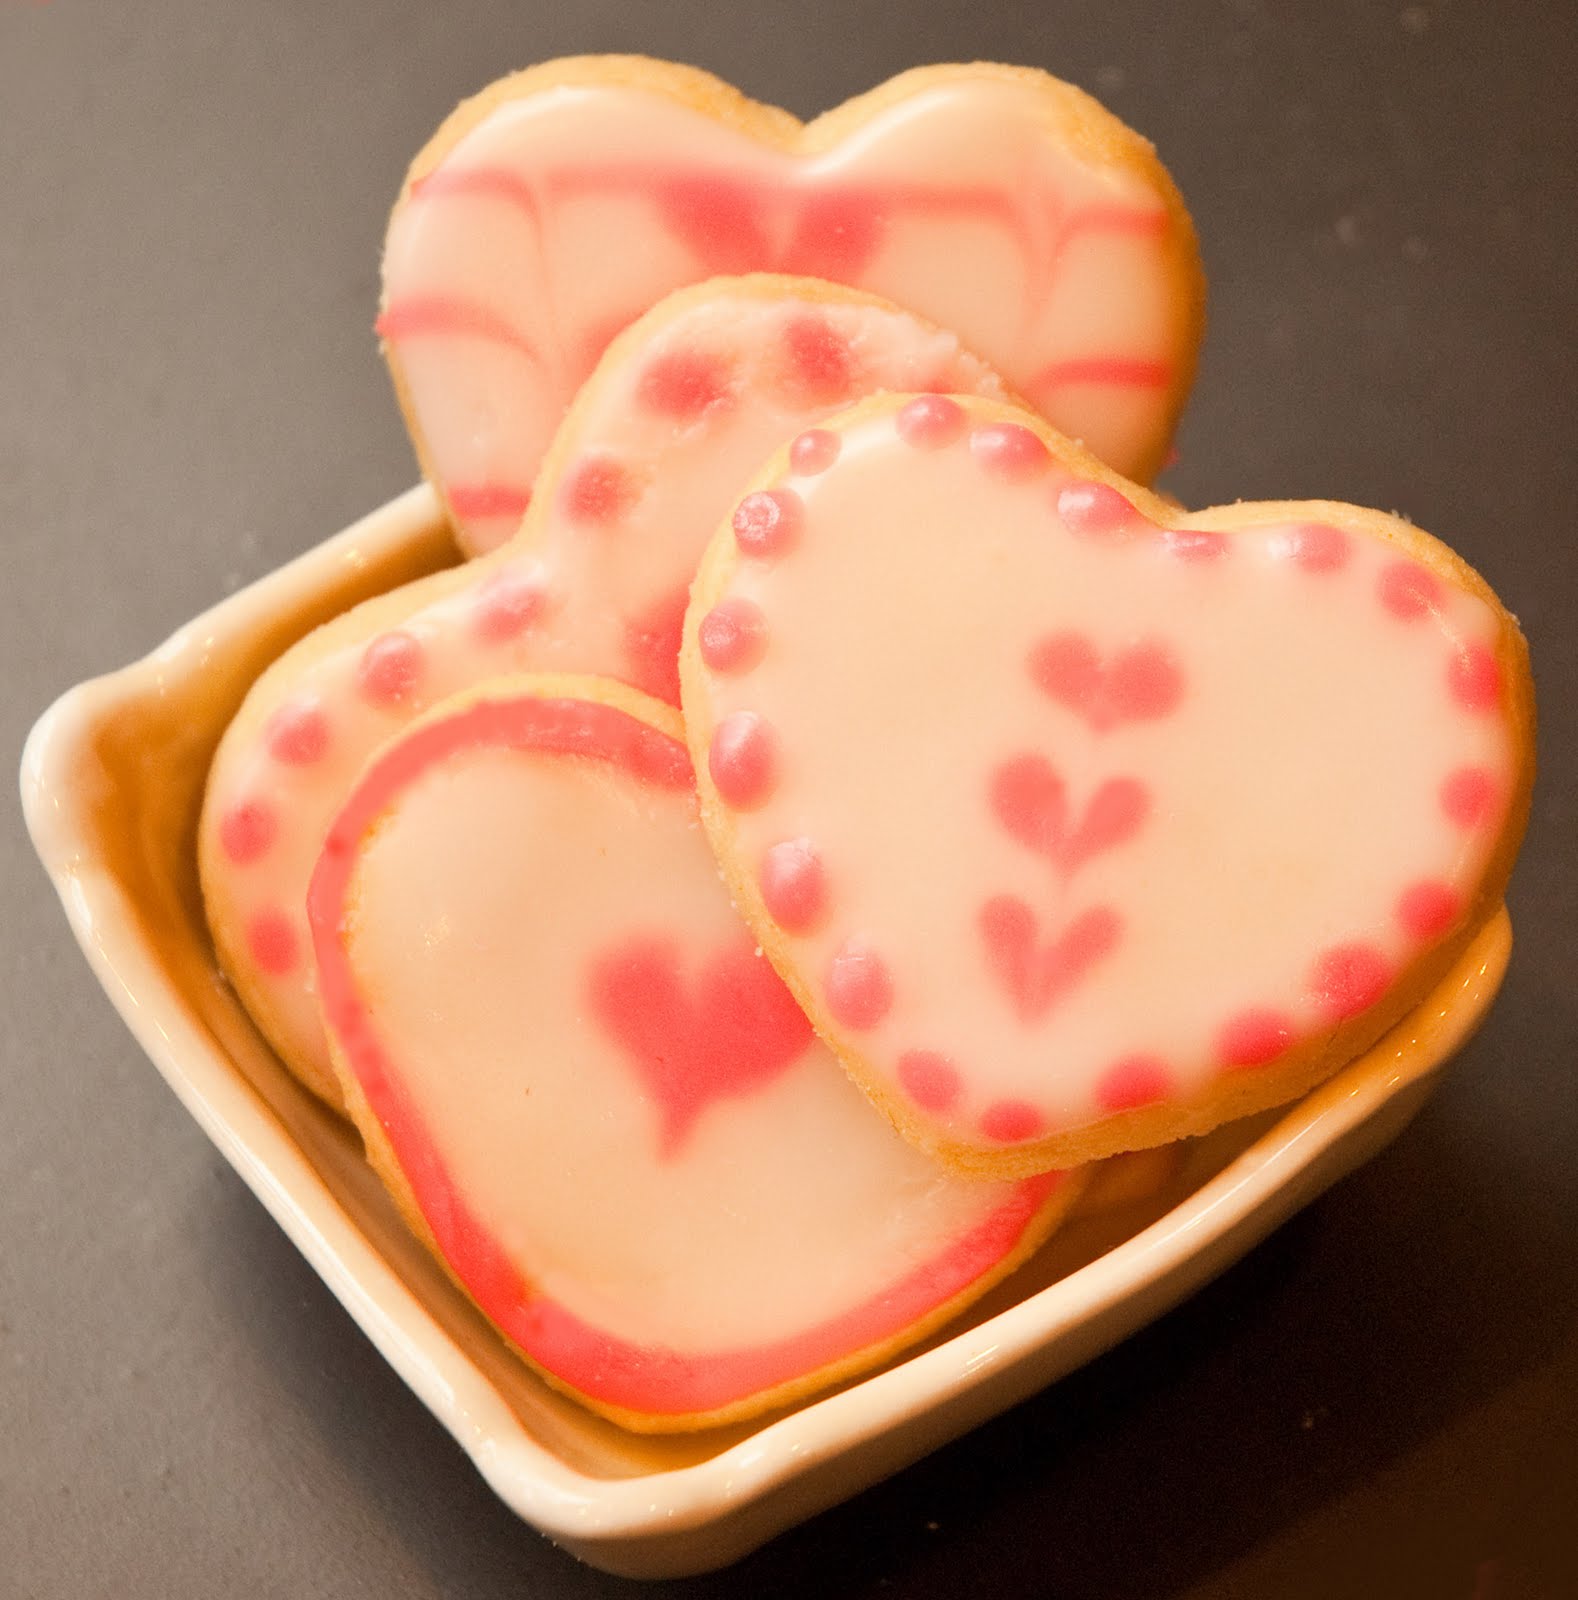
Marbling can be used to create a number of different effects (see my array of somewhat fancier marbled heart cookies here (see bottom right). But in this post I’ve adapted it to make simple but eye-catching little heart designs using icing; the how-to pics are below. (The name comes from the fact that two contrasting icings are marbled together to form a design. The patterns often look geometric, but as you see from these cookies, marbling can create a completely different effect.)
Before you begin the decorating, ready at least two very fluid powdered sugar icings, one to serve as a background color, the other an accent color for forming the hearts. (Note that the colors of these icings are natural and come from fruit juice concentrate; details are here.) Also have the thoroughly cooled sugar cookies, a spreading knife, some toothpicks, paper towels and a clean work surface ready. Finally, put the accenting color in a pastry bag with a fine writing tip, or in a paper piping cone, or in a sturdy baggie with a very small hole cut into one corner.
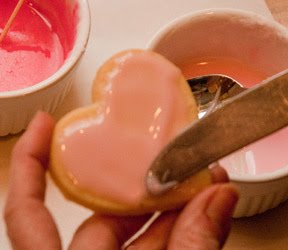
As the first pic shows, to start, a fairly soft, wet icing is spread over the entire cookie. Remember, the icing must be fairly runny, because it needs to blend and “marble” slightly with a contrasting-colored icing that is immediately added over top. I say immediately because the second icing has to be applied before the first layer sets.
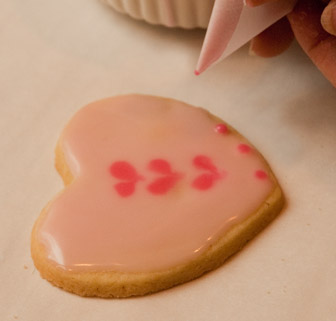
 Next, using the accenting color, put two dots of icing side by side in every spot you’d like a heart. Alternatively, you can pipe only one slightly larger dot and then draw a toothpick down through the middle of it. You can place one large dot or set of dots for a heart in the cookie center, or add several sets of dots randomly or in a line as shown here, if you prefer.
The next step simply draw down through the dot or pair of dots so a heart shape forms, as shown below. Since the icing flows a little differently each time, every heart (and every cookie) will be unique.  As necessary, wipe any icing build-up from the toothpick.
 As necessary, wipe any icing build-up from the toothpick.
You can add more dots to form a border around the cookie, as shown below, or even add them all over for a polka-dot look, if desired. (Be sure they don’t run into the hearts though!)
 That’s it, except remember to allow plenty of time for the icings to set. Since they are wet to start with, it may take at least two or three hours before they are firm enough for the cookies to be packed away; I let them stand at least five or six hours if they will be stacked on top of one another. After all, I don’t want to mar the look of my little masterpieces!
For the best, easiest way to roll out cookie dough, check out my short how-to video here.
For more elaborate marbled hearts looks like the one below, check out the pics here or here.


What a wonderful technique. I often put off cookie projects because I'm afraid of how time consuming other piping may be. But this method surely is a winner. So simple but so effective. Thank you for sharing this great idea.
I find that if I don't pipe all the time (which I don't)I get rusty, so actually these are pretty much my speed, too. I like the fact that each one is unique.
Bless you, Nancy, these are more or less my speed! (I am SO NOT a piper!)
Nancy…….they are precious! I will make some next year….and will practice during the year…….
I just love your European Hearts!!!!
Happy Valentines….with a big hug~