Fudge and I go back a long way, and we’ve had both our good and bad moments. Now, I think I’ve finally mastered this mercurial, occasionally maddening candy. It’s taken me many years.
My first forays into fudge began as soon as I could read cookbooks and was old enough to use the stove–probably around age 9. Well, to be accurate, sometimes I made fudge and sometimes I made something more akin to sludge!
Sometimes the fudge wouldn’t set, ever–in which case, we pronounced the results “fudge sauce,” and ate it over ice cream! Other times it turned to stone without even being stirred; we just chipped off pieces and ate it anyway. And often we ended up with gritty fudge, though at ages 9 and 4, we weren’t yet connoisseurs, so were not turned off by this.

The only fudge batches we kids considered failures were those that couldn’t be eaten at all. Specifically, these included ones that burned and tasted nasty and ones in which the chocolate never really integrated into the cream.
The second problem occurred because instructions said to put all the cold cream and chunks of chocolate into a pot and heat them until the chocolate melted and blended in–which it never did. I now understand that chocolate is persnickety and only melts and blends smoothly with liquid when the two are warmed and slowly, gradually mixed together. This inviolable confectionery rule accounts for the fairly precise mixing method called for below, so do follow it.
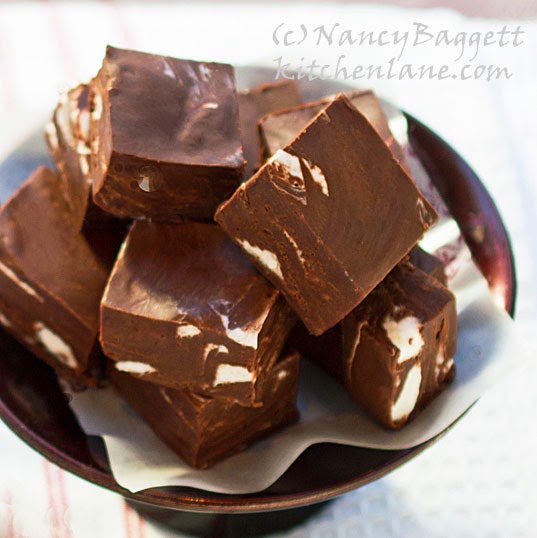
Since I only came up with this fudge-making method in the last year and it’s unique, it’s going to seem a bit unusual. Instead of being beaten until it grains and stiffens, the fudge is simply poured, while still warm and fairly fluid, into the prepared pan. It then stands at room temperature for a number of hours. This resting period allows time for the natural starch in the chocolate to gradually absorb the extra moisture and stiffen the candy to a firm, but not a dry consistency. So long as you follow the directions as written, the method yields fudge that is exceptionally creamy and flavorful and that stays moist and succulent during storage. Please, please curb any impulse to improvise.

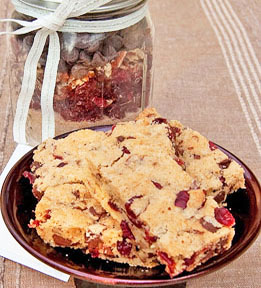
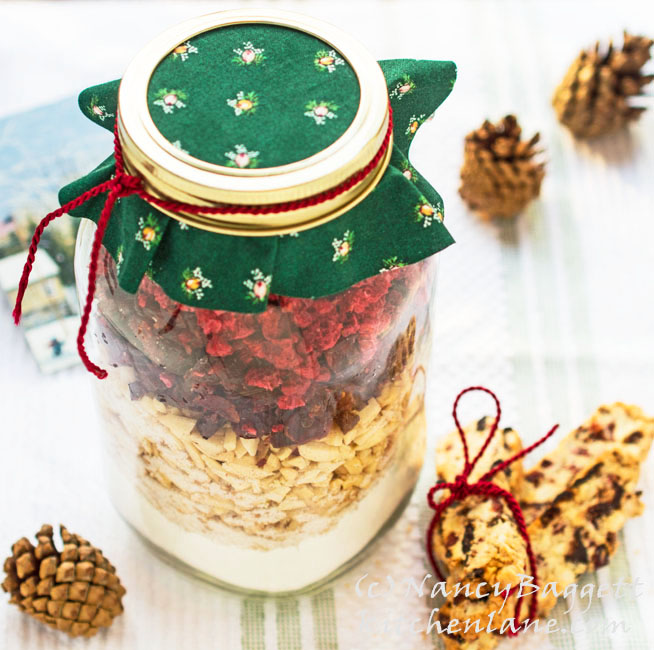
One more thing–yes, of course, this makes a super gift from the kitchen! For other kitchen gifts ideas, check out my yummy bars-in-jars recipe or my minestrone soup mix kit.

- 8 ounces unsweetened chocolate (or 99 to 100 percent cacao chocolate), coarsely chopped or in small chunks
- 2 cups heavy (whipping) cream
- 1½ cups granulated sugar
- ⅓ cup light corn syrup
- Pinch of salt
- 1 cup marshmallow fluff
- 2½ cups mini-marshmallows
- 2 teaspoons vanilla extract
- 1 cup chopped walnuts or pecans, optional
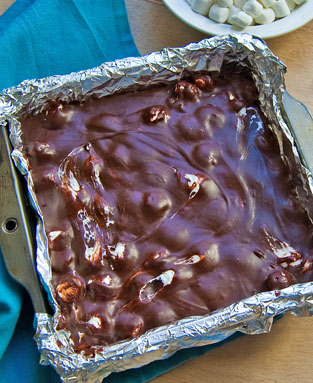
- Line an 8‑inch (or for thinner fudge a 9-inch) square pan with aluminum foil, allowing it to overhang on 2 sides. Put the chopped chocolate in a large, microwave-safe bowl. Microwave for 30 seconds on high power. Stir lightly, then microwave 30 or 40 seconds longer. Stir and set aside.
- Combine the cream, sugar, corn syrup, and salt in a 6‑quart or larger heavy non-reactive pot or enamel-coated Dutch oven. Bring to a boil over medium‑high heat, stirring with a long‑handled wooden spoon. As the mixture boils and rises up the sides, continuing stirring until it begins to subside, about 4 to 5 minutes.
- Adjust the heat so mixture boils briskly, occasionally gently stirring and scraping the pan bottom. Continue boiling, stirring frequently, about 5 to 7 minutes or until the mixture begins to boil down, thicken just slightly, bubble loudly and turn a pale beige color. Then, to avoid scorching, lower the heat so the mixture boils very gently.
- If a candy thermometer with a clip is available, clip it to the pot, submerging the tip in the candy, but not touching the pan bottom. Otherwise, just start frequently testing with the candy thermometer available. Cook, stirring constantly and scraping the pan bottom and sides and watching carefully to prevent scorching, about 3 to 5 minutes longer. When the mixture turns a very pale light caramel or dulce de leche color and reaches 234 to 235 degrees F, immediately remove the pot from the heat (with pot holders), stirring. Pour the mixture over chocolate, being careful not to burn yourself. If the bottom of the pot looks grainy or as if it is beginning to scorch, don't scrape out the last of the mixture.
- Add the vanilla and marshmallow fluff to the bowl with the chocolate. Stir the mixture with a clean wooden spoon until the chocolate is fully melted and blended in and no streaks remain; this will take several minutes. Be sure to scrape up the mixture from the bottom. If the fudge looks oily and separated or is too stiff to stir, vigorously stir in up to 6 teaspoons warm water a teaspoon at a time; stop adding as soon the mixture smooths out and looks creamy. Fold in the nuts, if using, until evenly incorporated. Then lightly fold in 2½ cups marshmallows, stopping before they begin to melt into the mixture. Immediately turn the fudge out into the prepared pan; quickly smooth out to the edges with a lightly greased table knife.
- Let the fudge cool on a wire rack. Cover and let stand at room temperature at least 8 hours and preferably overnight; this allows time for the natural chocolate starch to firm up the fudge. Then refrigerate, wrapped airtight, for up to 10 days. Alternatively, freeze airtight, for up to a month.
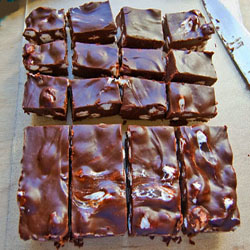
- Let the fudge slab thaw or warm up slightly before cutting. Lift the foil and slab from pan. Carefully peel off the foil; place the fudge slab on a cutting board. Using a sharp knife, trim off and discard the uneven edges all around, if desired. Cut the fudge into quarters in one direction and sixths in the other to yield 24 pieces (or cut in bigger pieces, if desired). Pack airtight and store in a cool place for up to a week. Or freeze airtight for up to 1 month; thaw in the refrigerator, then let warm to room temperature before serving.
- Makes about 1¾ pounds plain fudge, 2⅛ pounds nut fudge.
You might also like my bars in jars gift recipe here. Or another popular holiday gift recipe, my holiday biscotti in jars recipe is here.

Glad to know the recipe is working so well for you!
I’ve made this 3 times now. And the only change I’ve made is to add 1/2c of butter (“special butter”) and it comes out great every time.
Chocolate: I use the 8oz of bittersweet, plus 3/4 semisweet morsels
Mixing: I head the chocolate until it is completely melted, about 1:45 with my microwave.
I remove the pot from the heat at 235f, and I pour the chocolate into the hot mix in the pot, don’t think that makes much difference, just feels a bit safer to me.
Lobstah
This is great information. Thanks for posting. I would never have guessed that fudge would be done at 218 degrees F?
I’ve found an easy, foolproof method for converting sea-level candy recipes made with a candy thermometer to high altitude.
Water boils at 212 degrees Fahrenheit at sea level. Bring a cup of water to boil and measure the temperature. In my kitchen, water boils at 195 degrees Fahrenheit, 17 degrees less than 212.
I subtract 17 from the sea-level temperature in the recipe and cook the candy that reduced temperature. For Nearly Foolproof No-Beat Fudge, I cook the candy mixture to 218 degrees, and it turns out perfectly.
I’ve used this same method to adjust other recipes such as Turtle Brownies, and it works consistently.
Thanks for posting. Hope you try this recipe in the future.
To be completely honest I did not make this recipe, but as the fudge I was making began to separate before I eyes I frantically googled how to fix it and this recipe came up. I was able to save it so I’m leaving a good review and bookmarking this recipe for the next time I make fudge. Thank you!
Wow! I also thought I had destroyed my fudge. I was making a keto version and used HWC instead of cream and it completely seperated into an awful mess. I slowly added hot water and really didn’t see it working and it just got worse. With nothing to lose at this point I kept adding the water and it was eventually a fudge miracle. Thank you for the tips!
Thanks so much for commenting. Usually, the problem is caused by chocolate that has a higher percentage of chocolate solids than usual, which sucks up too much liquid and leaves the fudge oily and separated-looking. Adding water back in hydrates the fudge so it can have a smooth fudge consistency again. Delighted you are happy but hope you do get some sleep!!! Wishing you a lovely holiday!
I have been making fudge for many years and tonight decided to make my Christmas batch! Everything looked fine until the very end. I used a new vanilla added my chocolate and marshmallow fluff and it turned into a grainy greasy mess! I was so upset. What did I do wrong? I came across this blog and tossed the mess back into the pan -slowly adding water as suggested. It worked! I can’t believe it! My fudge is saved!!! Oh thank you angel fudge lady who posted this!!!!!I’m so happy I cant sleep!
Thanks, I may post it and if I do I will put the link to it here.
Glad you enjoyed the recipe. Yes, if you want a less chocolatey fudge you can add cut the chocolate called for by an ounce or two. Or you could add more marshmallow fluff. It will also soften the fudge a bit more though. If the fudge still leaks butter, just increase the water a bit more. If you reduce the chocolate in the recipe this will also likely reduce the butter separating out a bit.
I had been having fat separation problems with my years old tried and true fudge recipe, and was so happy to find yours. It worked well, but it still “leaked’ a little butter, even after I used your warm water trick (an excellent idea). Any ideas?
Also, this recipe is SO chocolate; I wonder if using the whole jar of marshmallow cream (the last half cup) would help with that.
Otherwise, this was excellent, almost a truffle filling, and roasted walnuts were a wonderful addition.
Thanks!
Thanks, I’ll come back and add the link when I post it. It’s good, but I do like this recipe better!
My all time favorite fudge is the Short-cut fudge you wrote about in the Washington Post – it has craisens and walnuts and mini marshmallows and is a delightful treat that pulls together in no-time during the holidays. Would love to see that here so I can retire my dog-eared copy!
Greg, thanks for posting–great info, greatly appreciated.
The rule of thumb for high altitude candy making or cooking sugar syrups is to decrease the cooking temperature by 1 degree Fahrenheit for every gain of 500 feet in altitude. So, if you live at 2,000 feet, for example, cook your candy to 4 degrees less than the suggested temperature in the recipe.
Lizz, thanks for letting me know. Fudge can be tricky–even with a good recipe–so I'm glad to hear that this was a success.
Cynthia, I'm sorry to say I don't have any expertise on making candy at high altitude. I think that a professional confectioner who works at high altitude would know best.
Hi Nancy, I made your fudge to give as gifts and for my office. It turned out perfectly! Lizz
Nancy, do you know of a good web link for a formula to convert the sea level candy temperatures to high altitude temperatures?