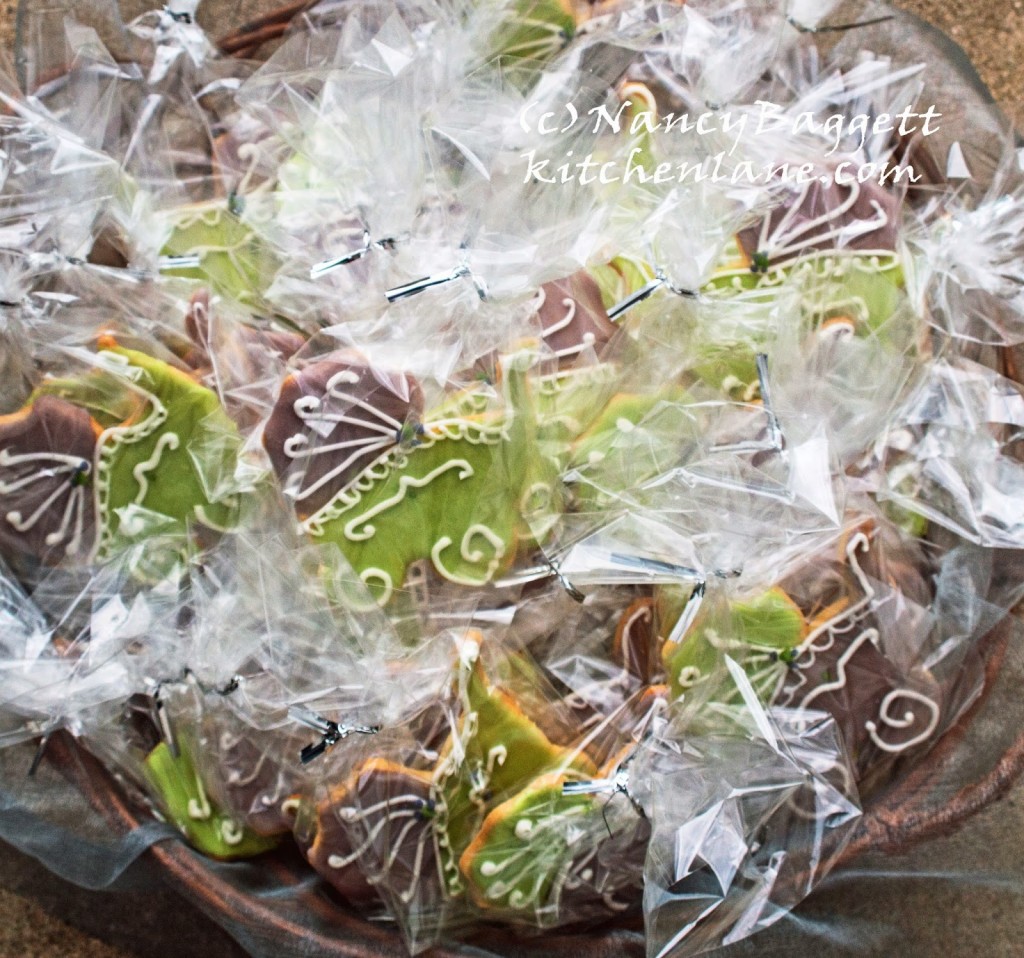
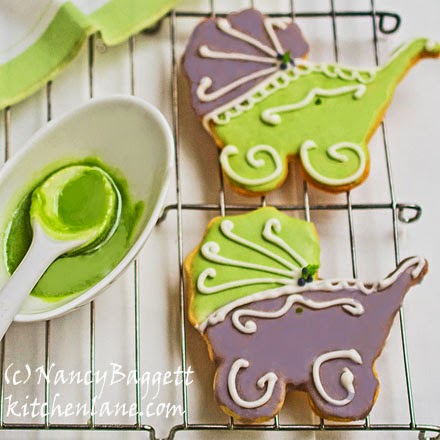
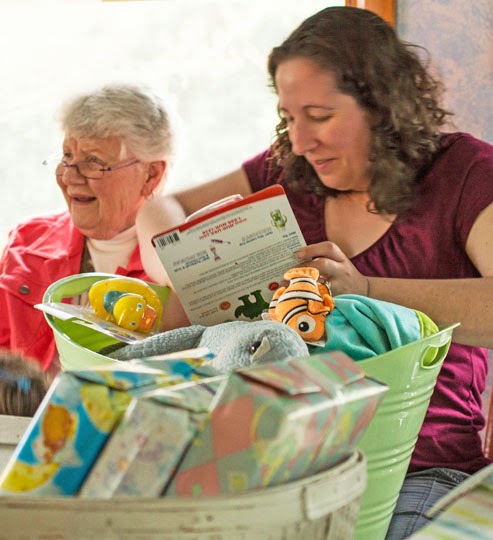
This week I was busily baking and decorating a big batch of cut-out sugar cookies. As you can no doubt guess, the baby carriage cookies were created for a baby shower. The party was for my niece, Erica, who’s shown opening her gifts in the pic at the very bottom. (Incidentally, I decided on that particular color combination because she featured it at her wedding.)
What you probably can’t guess from just looking is that the cookies were decorated with naturally colorful botanical dyes, not the usual synthetic petrochemical colors like FD&C red #40 and blue #6. I prefer to avoid the petrochemical colorants whenever children (and grownups with allergies) will be eating what I bake. For one thing, I’m allergic to the red dyes in cosmetics and clothing myself. For another, I know that the plant-based substitutes can deliver equally beautiful results without any health risks. I do recommend that if you plan to make your decorated cookies ahead, you should store them in the freezer. This will ensure that the botanical colors stay bright and don’t start to blur together.
You can certainly decorate cookies like these with “regular” food dyes. But if you’d like to switch to botanical alternatives, you can buy the Chocolate Craft Colors brand online, and the India Tree brand in some health food stores or pastry decorating sections of craft stores. Here are some other basics you need to know:
 |
| Cut-Out Baby Carriage Cookies–Great for a Shower |
> Botanical colors are usually not as shelf stable as the synthetic food colorants
and will fade over time; most manufacturers recommend keeping them
refrigerated. Also, tint your icings, buttercreams and such just a little
brighter than the final shade you want–some natural colors lose a little
intensity as the decorated baked goods stand. To keep the colors and designs bright and clear, it’s best to freeze items that will be stored more than a day or so.
frostings and other enhancements normally applied after baking–like the baby shower cookies pictured.
> Some botanical food dyes change color in the presence of acid. Blue
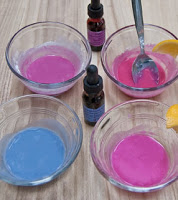
shades, for example, often turn reddish. If you want the colors to come out just as you bought them, never add lemon juice or other acidic ingredients when mixing up your icings. Note that, amazing as it seems, the bright blue icing in the pic at right immediately turned the intense pink shade shown next to it when only a few drops of lemon juice were stirred in.
 |
| Baby Carriage Iced Sugar Cookies |
Yes, these issues mean that switching to botanical dyes involves making a few changes. Which is
partly why even though the au naturel alternatives on the market are
plenty attractive and are much safer, the food industry doesn’t want to
bother with them. However, folks in the natural foods business
that many large mainstream companies have plans in place to switch to
the botanical colorants when the public or the government demands it.
Eventually this may happen, in part because more and more
products are being colored with petrochemical dyes, resulting in
consumers eating more and more of these iffy additives all the time.
I’ve tried out the liquid food colors from several au natural product
lines, and the “Natural Colors” 6-bottle set from Chocolate Craft Colors
seems especially well-suited to the needs of the home baker. Their
offerings are gluten-free, dairy-free, propylene glycol free, synthetic
dye-free, and vegan, and the ½-ounce bottles come with a nifty
dropper-style tip. The set of colors includes berry red, yellow, orange, green,
blue and purple.
How to make the baby buggy cookies shown: Divide a large batch of powdered sugar icing equally among three bowls. (Use your own icing recipe or try the icing posted here.) To create a fairly deep purple color, combine drops of the the purple and blue. For the green, stir in the green until the desired hue is obtained. Leave the third bowl as is, so the accents can be piped on in white.
It isn’t necessary to create two separate color areas and then flood them. It works quite well to spread the top and bottom of the carriage with either purple or green using a small spreading knife. Once the two sections are dry, simply add a piped white line and lace edging to prettily cover the “seam” where the colors join. Tip: Use a #2 tip for all piping except the lacy fringe; use a finer #1 tip for the lace. (For a tasty, easy to handle sugar cookie dough, go here.) For my helpful YouTube video on rolling and cutting out sugar cookies, go here.


Leave a Reply